 |
| Sanding a back slat with my trusty random orbit sander, a tool which I use extensively when building furniture. Over the years I have built 22 rocking chairs, but it had been several years since I built my last one. |
 |
| Twenty three pieces of oak, not counting the numerous walnut wedges, spacers and dowels that I will use when assembling the chair. |
 |
| Sanding a leg on the lathe. |
 |
| Attaching the rockers. |
 |
| Walnut wedges and wood glue |
 |
| I use a radial drill press to drill the holes in the seat, armrests, rockers and headrest. The holes in the armrest must match the angles of the seat holes so I use templates to align the wood and set the drill at the correct angle. |
 |
| Driving a wedge at right angles to the grain of the armrest. Driving it parallel to the grain would risk splitting the armrest. |
 |
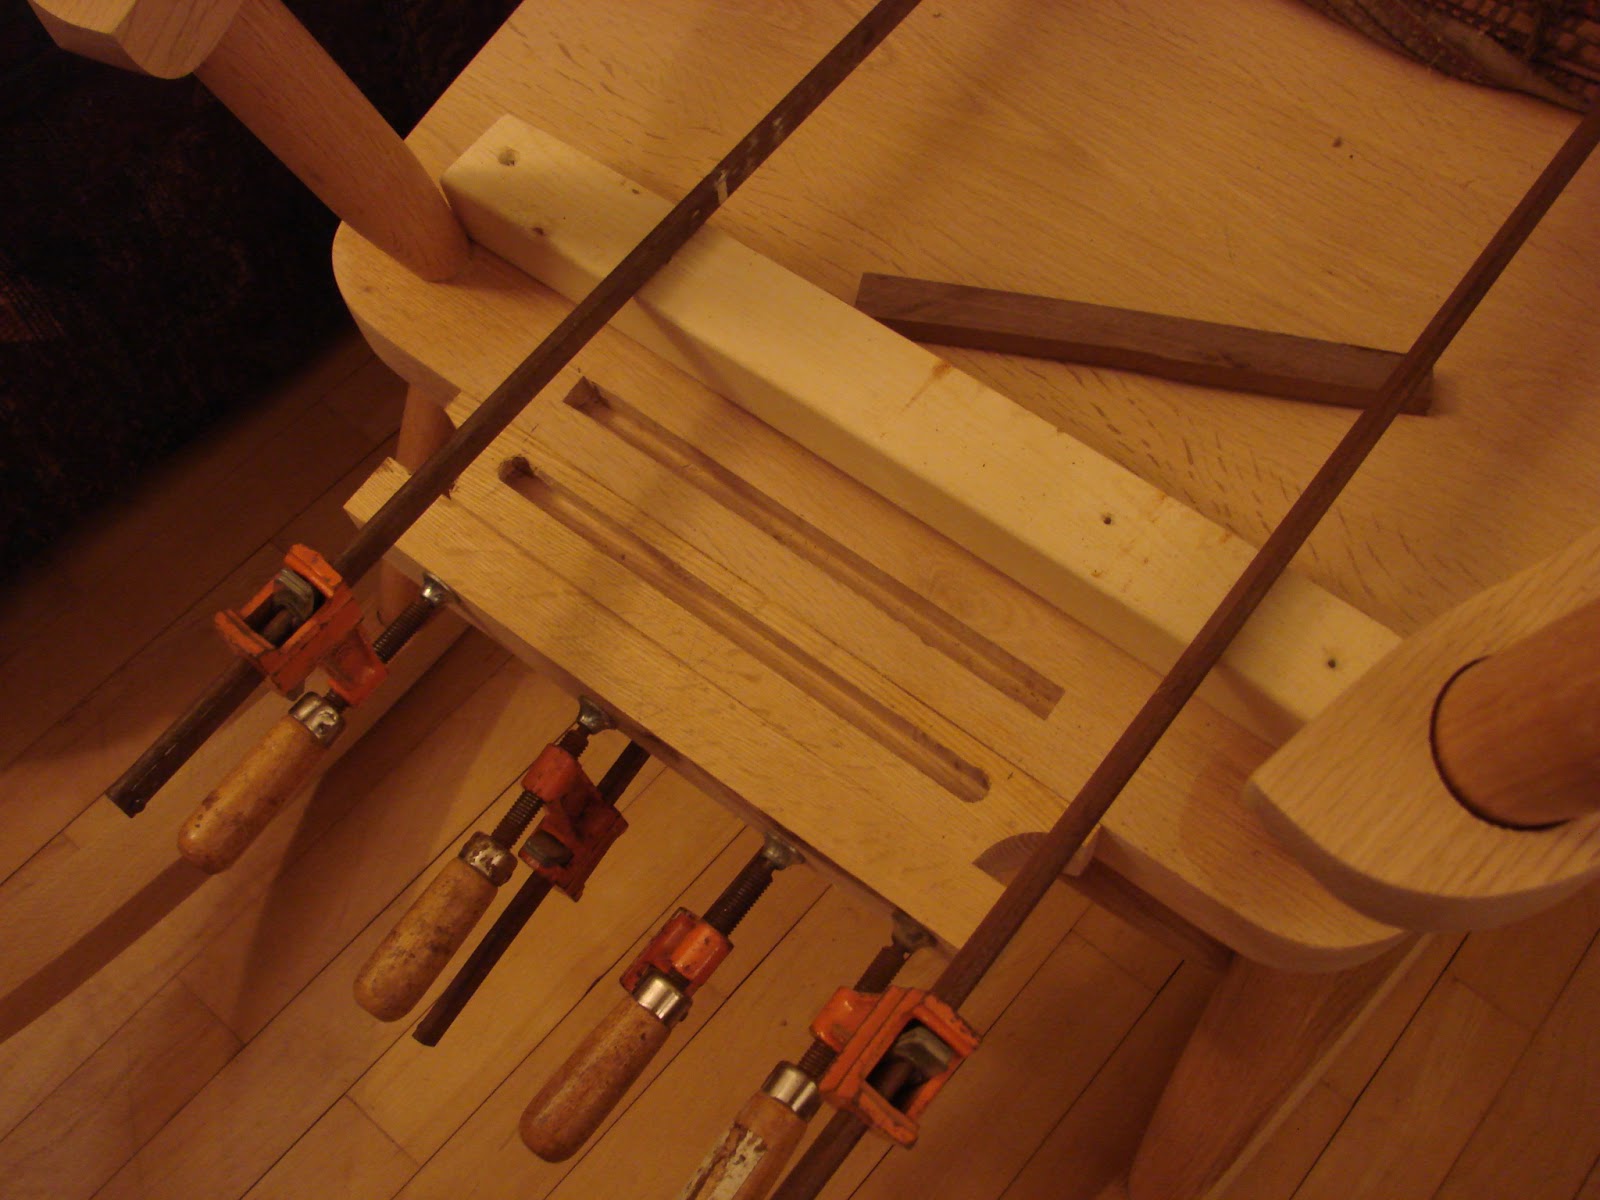
| Everything glued up, with the exception of the back slats which are sliding loose in the slots in the seat and headrest. |
 |
| HOWEVER....once I sat in the chair I was not satisfied. It was too upright and did not have a balanced rock. Above all else, a rocking chair should rock well, don't you think? I had neglected to account for the fact that the seat was shorter than my previous rockers, so it the center of gravity of the user is further forward. The next day, the solution came to me - add a piece of wood with a slot to the back of the rocker. But now you have two slots, how do you hide the first? |
 |
| You don't. You draw attention to it by filling it with a piece of contrasting wood and turn it into a design feature. |
 |
| If I hadn't told you why that strip of walnut was there, you probably would have thought it was just a bit of decoration. |
 |
| The armrest is secured to the back support with a dowel. |
 |
| Walnut spacers hold the back slats in position. |
 |
| End grain |

 |
| Loch Ness monsters |


 |
| The joint between the leg and the rocker is reinforced with a dowel. |
